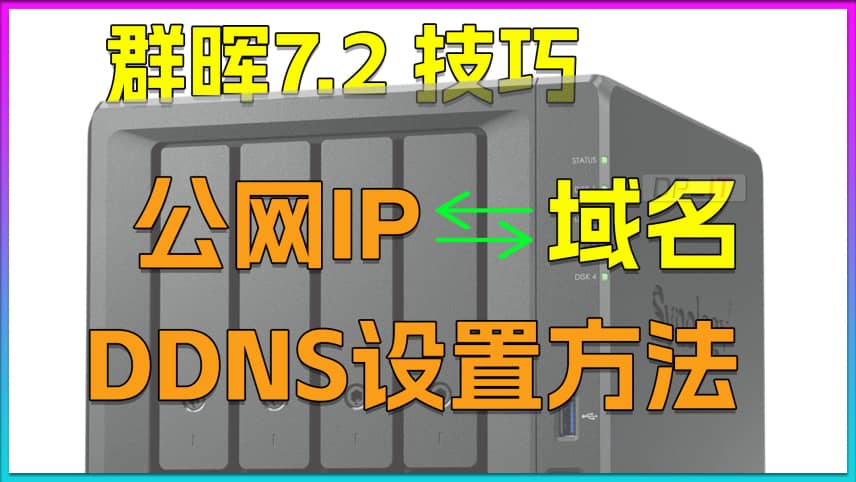
Synology DDNS: Bind Public IP to Domain for 7.2.1
Summary Content
# Synology DDNS: Bind Public IP to Domain for 7.2.1
## 📋 Video Overview
This comprehensive tutorial demonstrates how to configure DDNS (Dynamic Domain Name System) for Synology NAS (version 7.2.1), enabling the binding of a dynamic public IP address to your personal domain name. The guide covers complete setup including SSL certificate installation and port customization to enhance security for remote access—an ideal solution for home NAS users with dynamic public IP addresses.
---
## 🔧 Prerequisites
Before starting the configuration, prepare the following three components:
### 1. **Domain DNS Record**
- Use a DNS service provider like DNSPod
- Create a new subdomain DNS record for your NAS (e.g., dpit-t2.lab00.com)
- Set initial value to 0.0.0.0 (placeholder, will be auto-updated by DDNS)
### 2. **SSL Certificate**
- Obtain a free SSL certificate from Tencent Cloud or other Certificate Authorities
- Download the certificate package (requires both .crt and .key files)
- Certificate domain must match your created subdomain
### 3. **DNSPod API Token**
- Log into DNSPod console to generate an API Token
- Record both Token ID and Token content (both required)
- Token enables Synology to automatically update DNS records
---
## 📝 Step-by-Step Configuration
### **Step 1: Configure Synology DDNS Service**
1. Open Synology Control Panel and search for "DDNS"
2. Navigate to: External Access → DDNS
3. Click "Add" and configure:
- **Service Provider**: Select DNSPod
- **Hostname**: Enter your subdomain (e.g., dpit-t2.lab00.com)
- **Username/Email**: Enter DNSPod API Token ID
- **Password/Key**: Enter DNSPod Token content
4. Click "Test Connection" - "Normal" green status indicates success
5. Click "OK" to save configuration
**💡 Note**: After this step, you can access NAS via HTTP protocol, but it's not secure yet. Continue with following steps for enhanced security.
---
### **Step 2: Import SSL Certificate**
1. Search for "SSL" or "Certificate" in Control Panel
2. Navigate to: Security → Certificate → Advanced Settings
3. Click "Add" → "Add a new certificate" → "Import certificate"
4. Enter certificate description (e.g., lab00)
5. Import files:
- **Private Key**: Select the .key file
- **Certificate**: Select the .crt file
6. Click "OK" to complete import
7. Set the new certificate as **default certificate**
8. Apply the certificate to Synology DSM in "Configure"
**⚠️ Warning**: System will automatically restart web services after certificate application, causing brief disconnection.
---
### **Step 3: Modify Default Ports (Critical Security Measure)**
1. Search for "Port" in Control Panel
2. Locate "Login Portal → DSM" settings
3. Modify default ports:
- **HTTP Port**: 5000 → 55101 (or custom port)
- **HTTPS Port**: 5001 → 55102 (or custom port)
4. Click "Save" and wait for service restart
**🔒 Security Recommendations**:
- Avoid common ports like 5000, 5001, 80, 443
- Choose 5-digit non-standard ports to reduce scan risk
- Document your port numbers for future access
---
### **Step 4: Configure Router Port Forwarding**
1. Log into your router's administration interface
2. Find "Port Forwarding" or "Virtual Server" settings
3. Add new rule:
- **External Port**: 55102
- **Internal IP**: NAS LAN IP address (e.g., 192.168.1.20)
- **Internal Port**: 55102
- **Protocol**: TCP
4. Save configuration and reboot router (if necessary)
**📌 Explanation**: This step forwards external requests to your internal Synology device correctly.
---
## ✅ Test External Access
After completing configuration, test access using:
```
https://dpit-t2.lab00.com:55102
```
**Access Format Breakdown**:
- Use HTTPS protocol (encrypted and secure)
- Your configured subdomain
- Custom HTTPS port number
If configured correctly, you'll see the Synology login interface with a secure lock icon 🔒 in the browser address bar.
---
## 🛡️ Security Enhancement Highlights
This tutorial implements multiple security measures:
1. **HTTPS Encryption**: SSL certificate protects data transmission
2. **Non-standard Ports**: Reduces automated scanning attack risk
3. **Auto-updating DDNS**: Automatically updates DNS when dynamic IP changes
4. **Domain Access**: Avoids direct IP address exposure
**Advanced Security Suggestions**:
- Enable Synology firewall and auto-block features
- Configure Two-Factor Authentication (2FA)
- Periodically change port numbers
- Use VPN as an additional security layer
- Customize login interface to hide device fingerprints
---
## 🔍 Troubleshooting Guide
| Symptom | Possible Cause | Solution |
|---------|---------------|----------|
| DDNS test fails | API Token error | Verify Token ID and content are correctly copied |
| Certificate warning | Certificate domain mismatch | Ensure certificate domain exactly matches access domain |
| No external access | Port forwarding not configured | Check router port mapping rules |
| IP not updating | DDNS service not running | Check DDNS status in DSM |
---
## 📚 Related Resources
- **Tencent Cloud SSL Certificate**: Refer to certificate application tutorial mentioned in video
- **DNSPod API Token**: Refer to related Token acquisition video tutorial
- **Supported DNS Providers**: DNSPod, Alibaba Cloud DNS, Cloudflare, etc.
---
## 💬 Summary
Through this tutorial, you can:
- ✅ Bind dynamic public IP to your domain name
- ✅ Access NAS securely using HTTPS protocol
- ✅ Enhance security through custom port configuration
- ✅ Access your home data center safely from anywhere
If this tutorial helps you, please like, share, and comment with your experience!
---
## 🏷️ SEO Keywords
Synology NAS, DDNS Configuration, Dynamic DNS, SSL Certificate Setup, Public IP, Remote Access, Port Forwarding, DNSPod, Network Security, Home Server, Synology Tutorial, External Access, HTTPS Encryption, NAS Security
Related Contents
View HDD SMART Info on Synolog...
Duration: 12:19 | DPSunshine+Moonlight+Win10 Remot...
Duration: 05:10 | DPClaude Code Usage Statistics: ...
Duration: 03:50 | DPClaude Code Status Bar: Instal...
Duration: 06:47 | DPCheck Real CPU Temperature via...
Duration: 08:06 | DPiKuai OS VLAN Beginner's Tutor...
Duration: 09:18 | DPRecommended

HA500 4-Month Stability Test R...
03:06 | 3The ha500 stability test report, completed over 4 ...

Starsector 0.98 Complete Ships...
02:51 | 3Starsector Online Tools Website (https://sst.lib00...

iKuai IPv4 DDNS: Bind Public I...
04:03 | 3Welcome to the iKuai beginner tutorial. This video...

iKuai Q6000+TP-Link 5410 Cross...
08:57 | 4Recently, I conducted a cross-brand router hybrid ...


